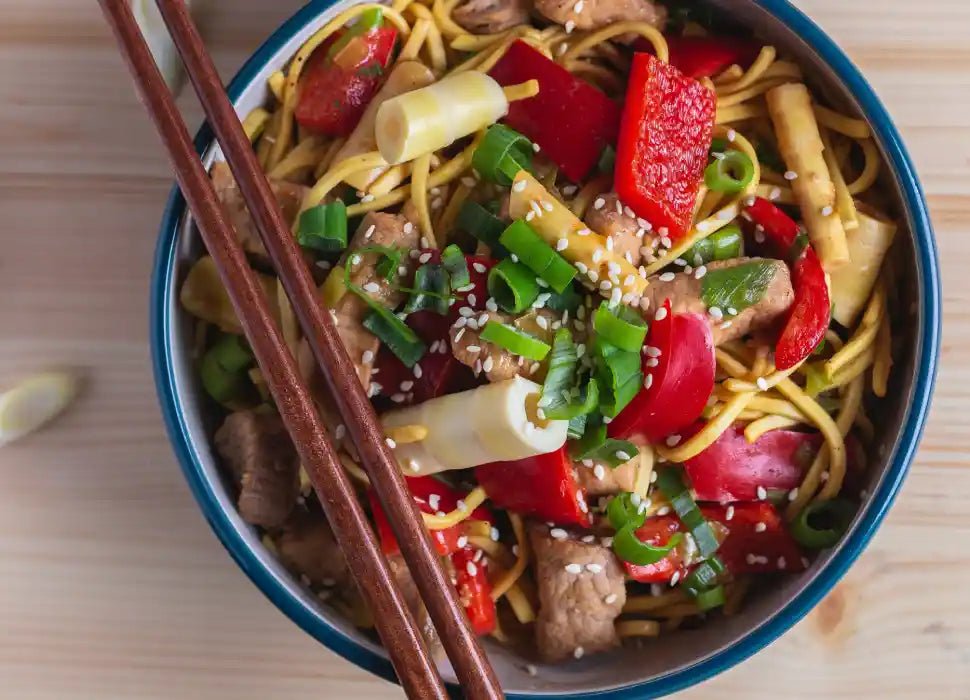
Beef Stir Fry With Noodles Recipe
Beef stir fry noodles is a dish that can be made very quickly, and it tastes so much better than many other dishes you will find in other restaurants. Beef stir fry noodles are incredibly good with...
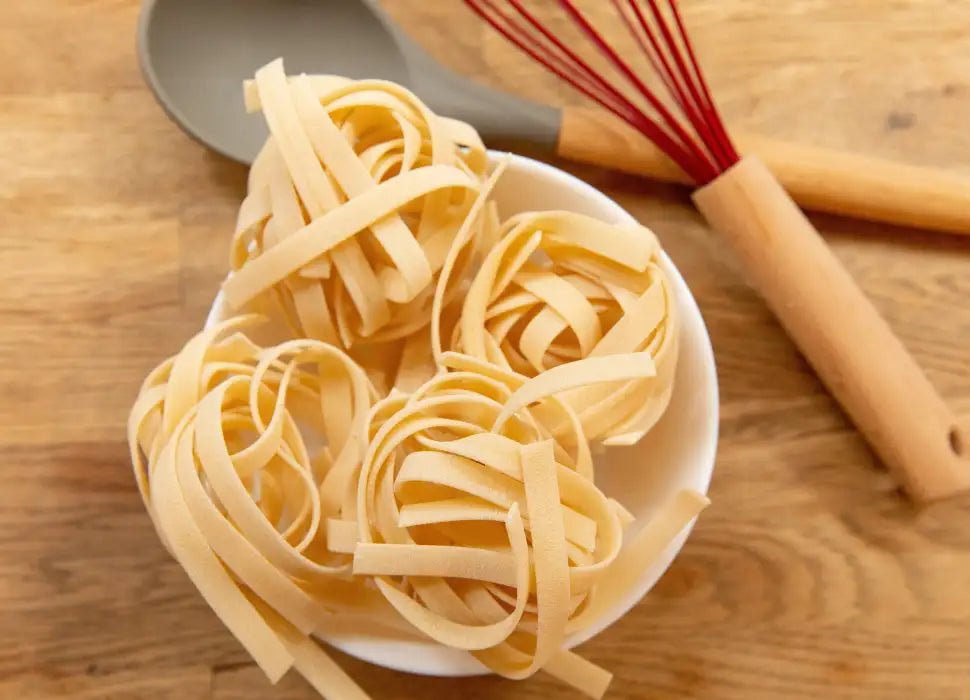
A quality Homemade pasta is a delectable feast for the whole family. Anybody who has already eaten fresh pasta knows how much nicer the Pasta contains versus dried noodles from the supermarket. So ...
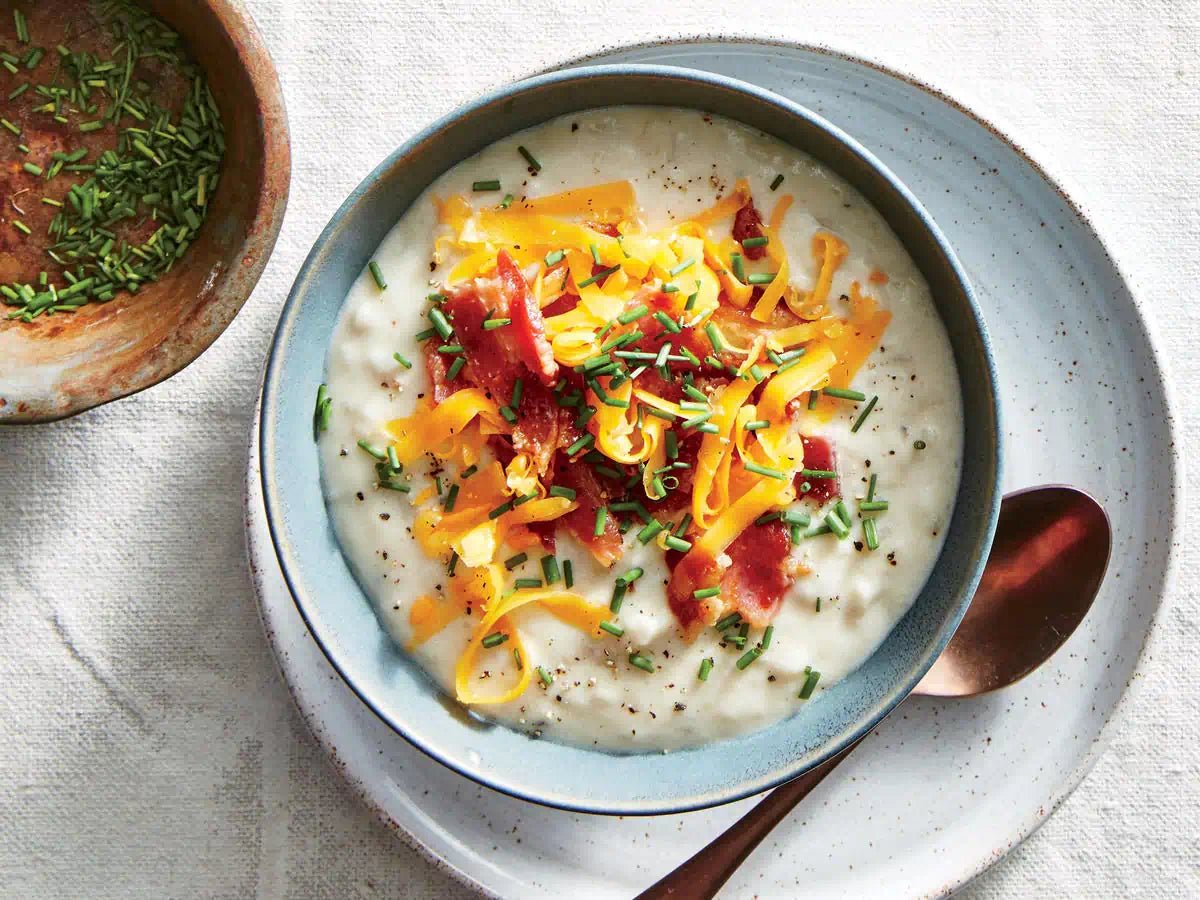
Healthy Baked Potato Soup Recipe
What could be healthier than soup when it comes to enjoying all the nutrients that a warm bowl has to offer? For a taste of total decadence, how about making a healthy baked potato soup recipe that...

A Beginner's Guide: 10 Easy Whiskey Drinks To Make At Home
Whiskey is surely one of the most loved and popular alcoholic beverages. You can make some easy whiskey cocktails at your home too. Some of the recipes for whiskey cocktails are easy to make and ca...
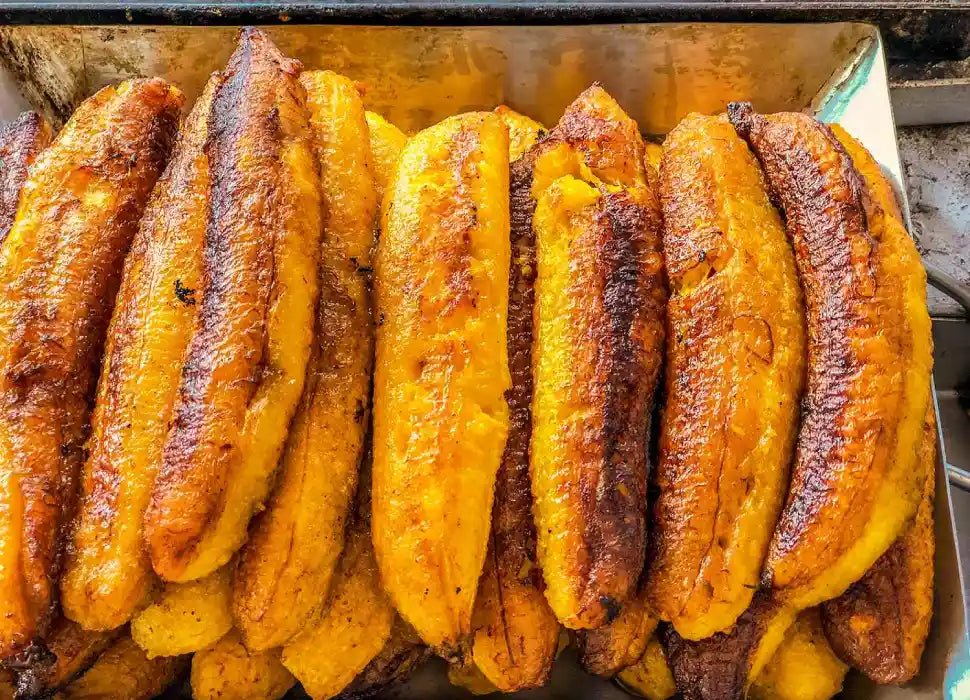
Fried plantains are a typical cuisine in various parts of the world. Try them once; they'll probably become one of your favorite dishes. Learn more about this starchy berry in this insightful reci...
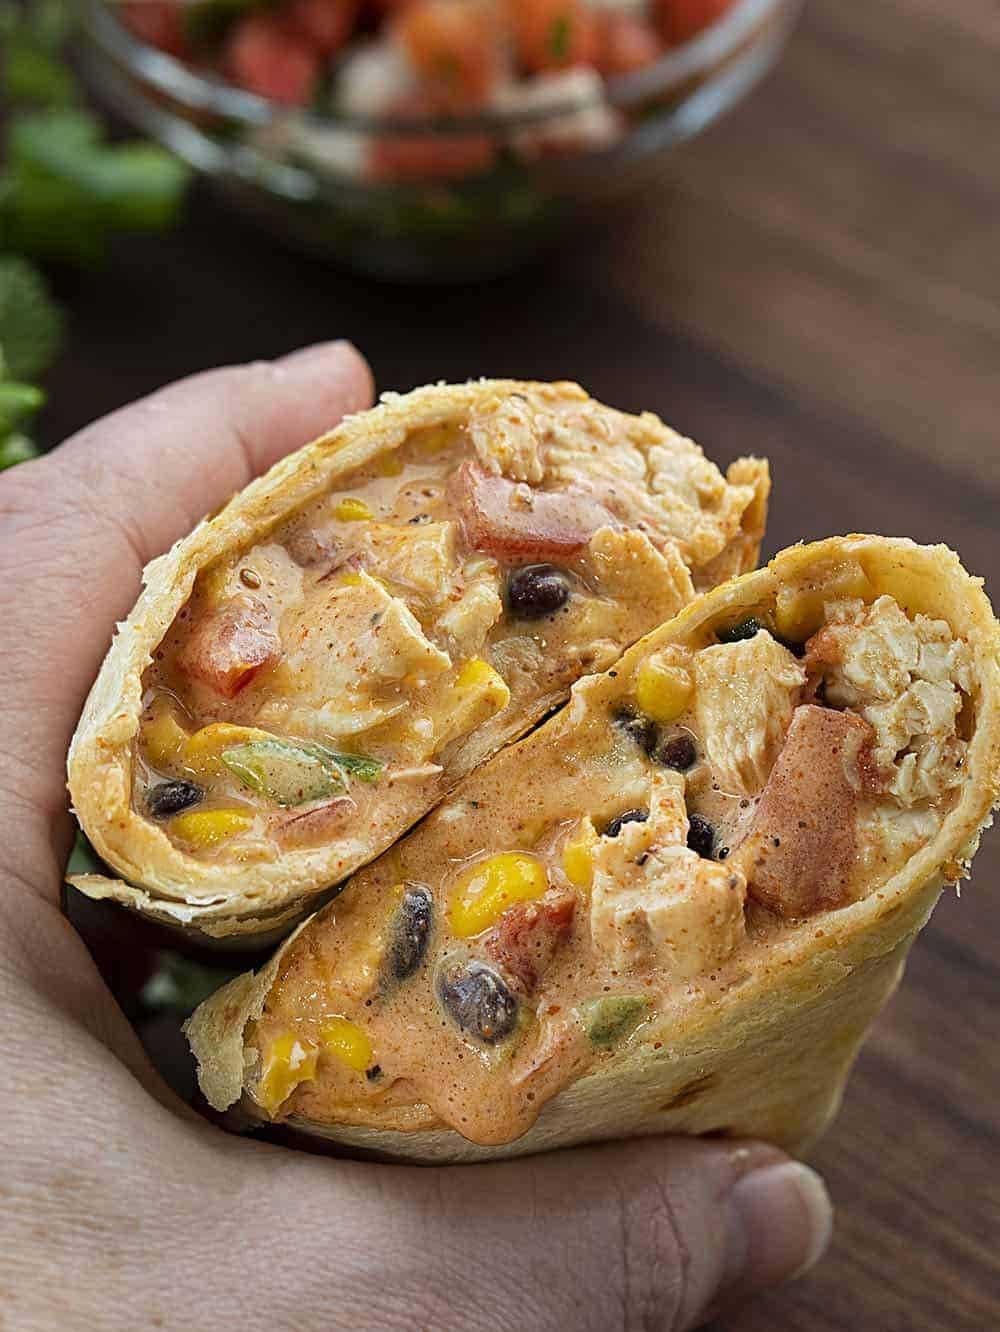
Creamy Chicken Burritos Recipe
The classic burrito is not exactly a new recipe that comes from South America. Combining savory spiced meats and fresh veggies within a flour tortilla is an excellent meal that is best served fresh...
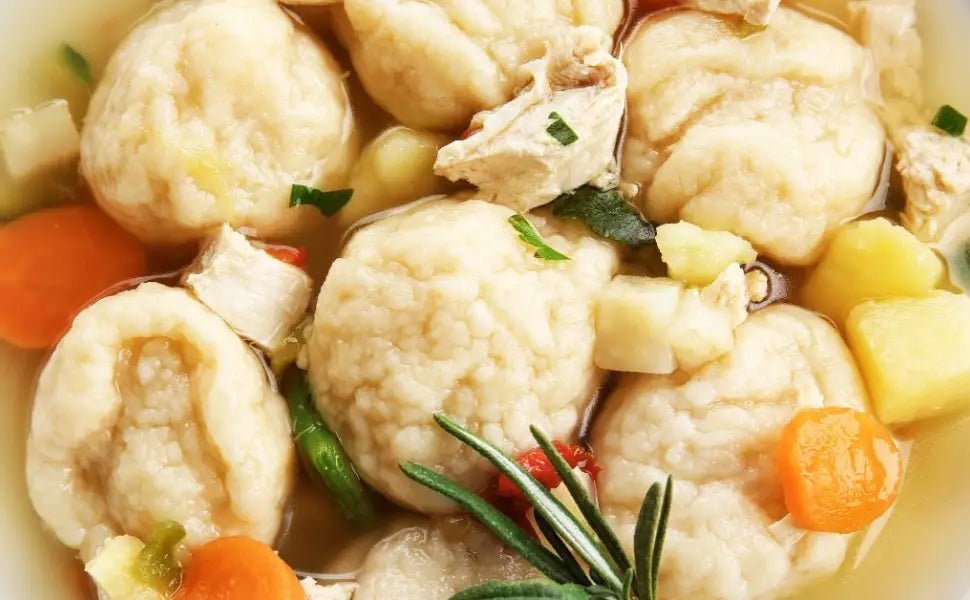
Easy Drop Dumplings for Soups and Stews Recipe
Most people might never have learned how wonderful homemade dumplings can be. And these days, with so many people on a budget, going back to the kitchen to make home-cooked meals isn't so uncommon ...

