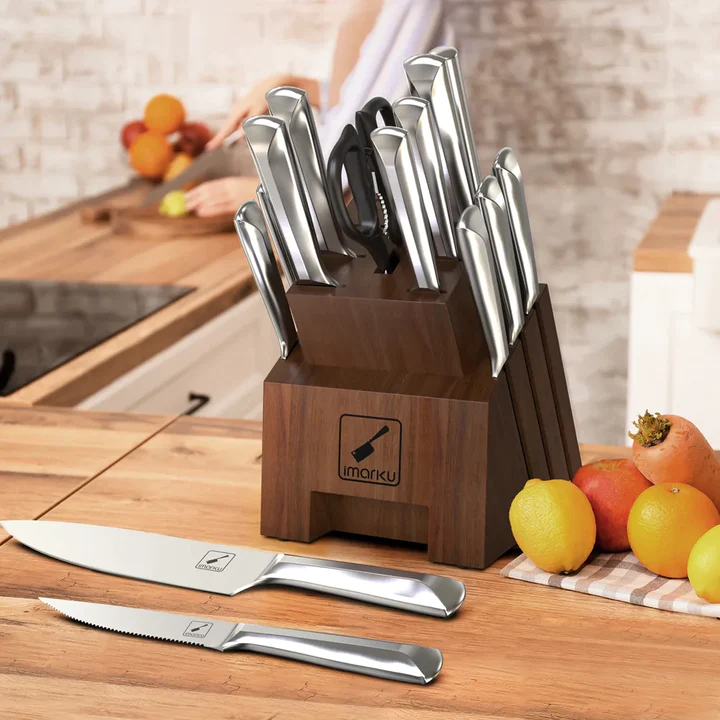

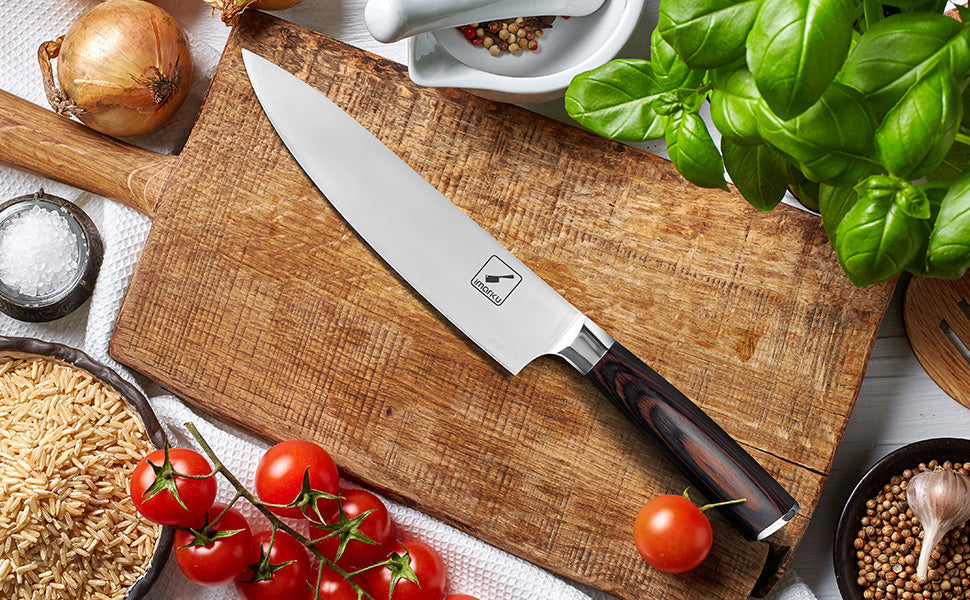
Choosing the Right Kitchen Knife for Your Everyday Cooking Routine
Good kitchen knives aren’t a luxury—they’re a necessity. But ‘good’ doesn’t have to mean expensive. It means choosing the knife that matches your real kitchen habits. Whether you’re looking for the...
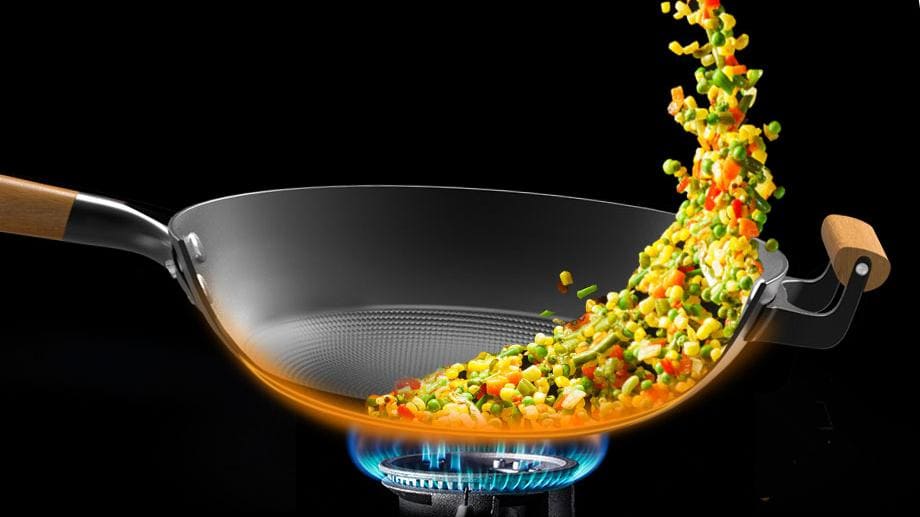
Is it Necessary to Use Oil When Cooking in a Wok?
Utilizing a wok in your culinary routine brings unmatched speed and versatility, making it a powerful tool in any kitchen setup. Whether you're a seasoned chef or a home cook just building your kit...
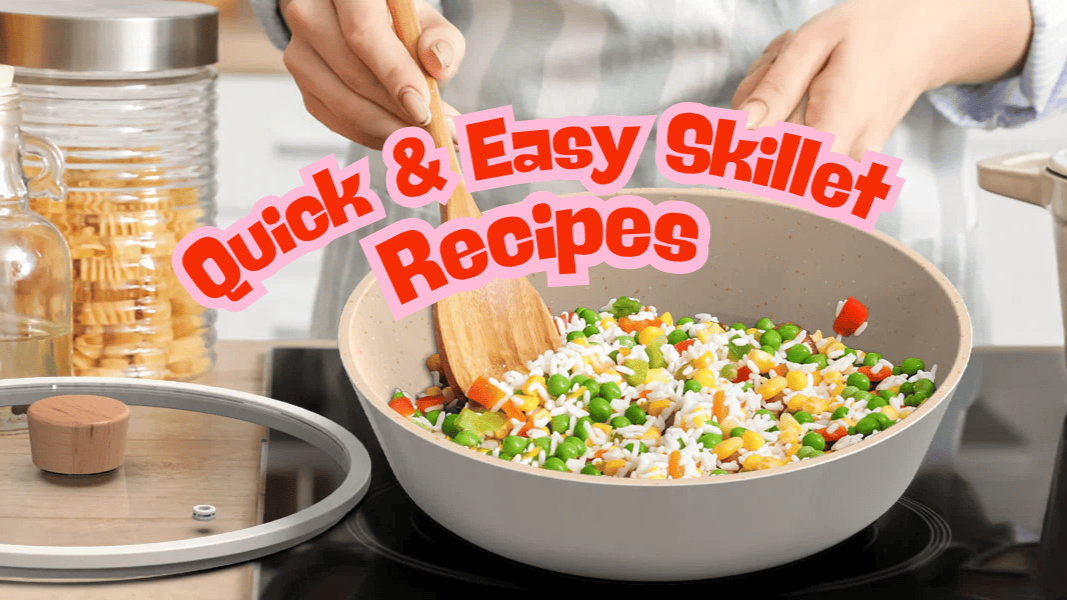
Easy 4th of July Skillet Recipes: Quick & Delicious for Last-Minute Hosts
Hosting last-minute for the 4th of July? Don't panic! Whether it's a backyard BBQ bash, a cozy Christmas Eve, or any festive weeknight gathering, having a stash of quick and easy skillet recipes is...

Contrary to what most people probably think, reheating pizza in your microwave is not the best and only way to do it. While it may be the simplest and most obvious means to go about reheating your ...
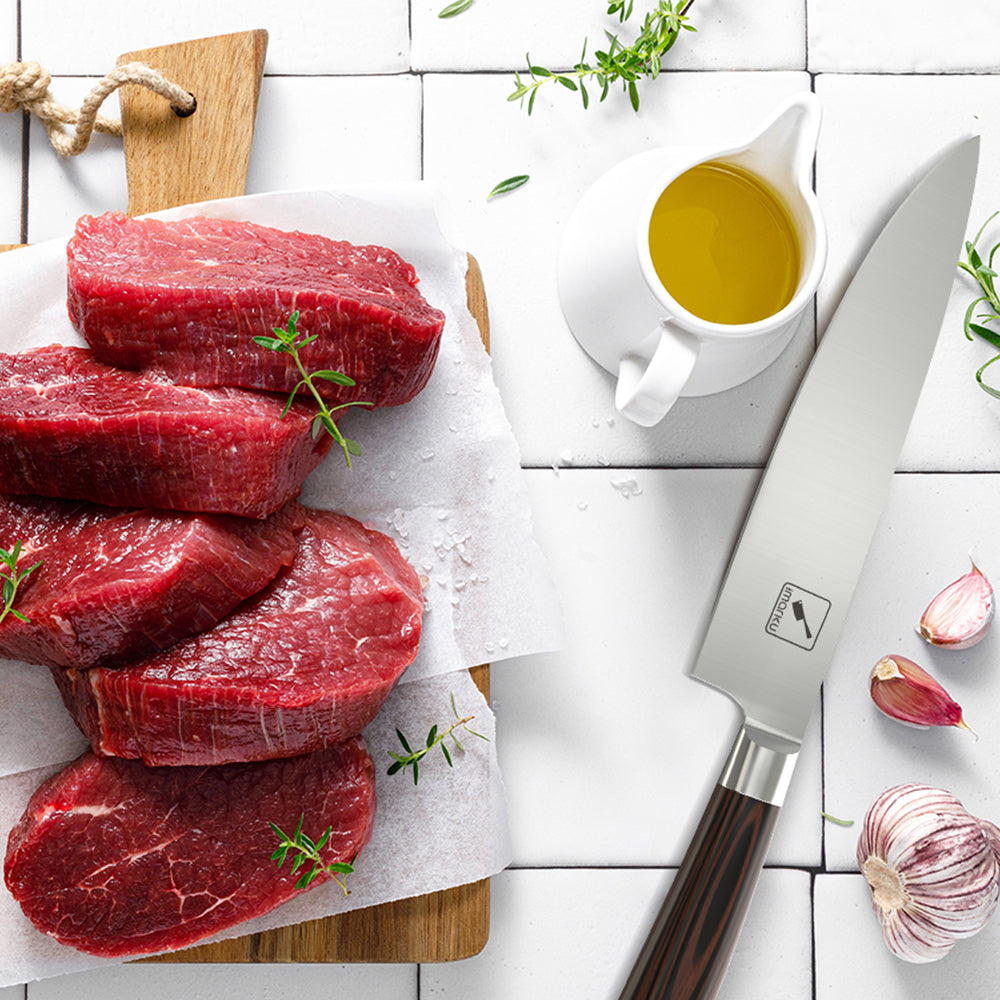
What Makes a Good Chef's Knife?
Owning a set of robust, high-quality kitchen knives gives you a sense of invincibility. Unless you're looking for a new knife, whether it's a chef's knife, a bread knife, a paring knife, or somethi...
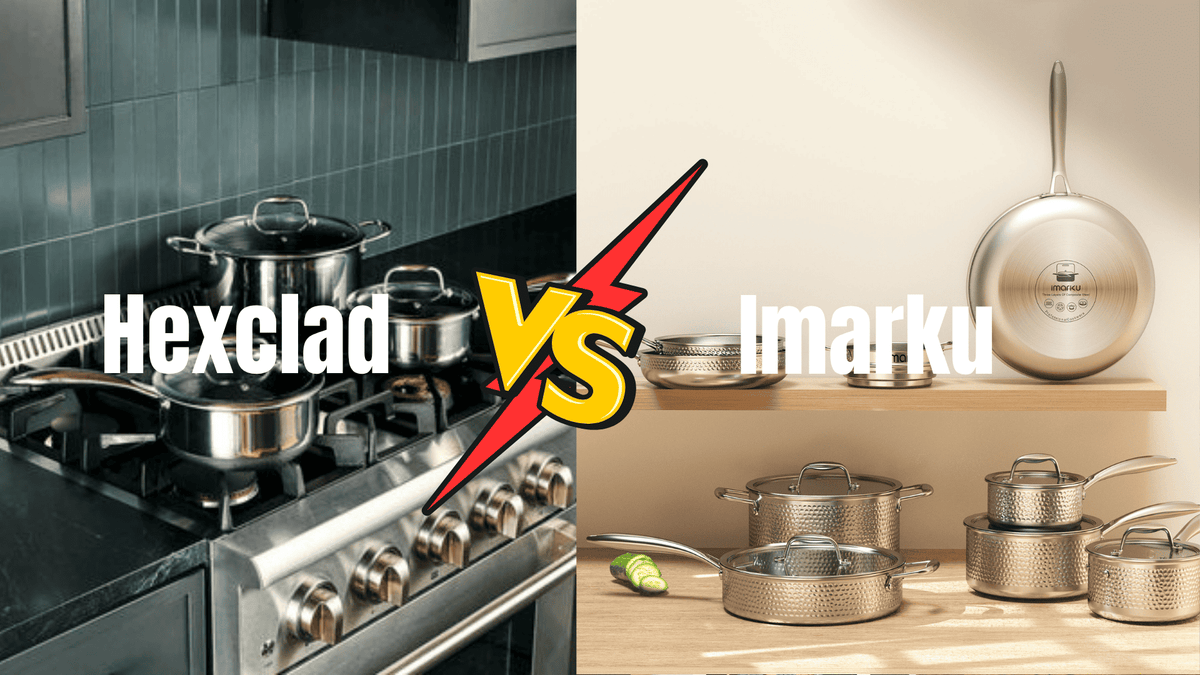
HexClad vs Imarku: Which Cookware Set Is Right for Your Kitchen?
Choosing the right cookware set is essential for anyone who spends time in the kitchen. Whether you're a home chef preparing daily meals or someone who loves experimenting with gourmet recipes, the...
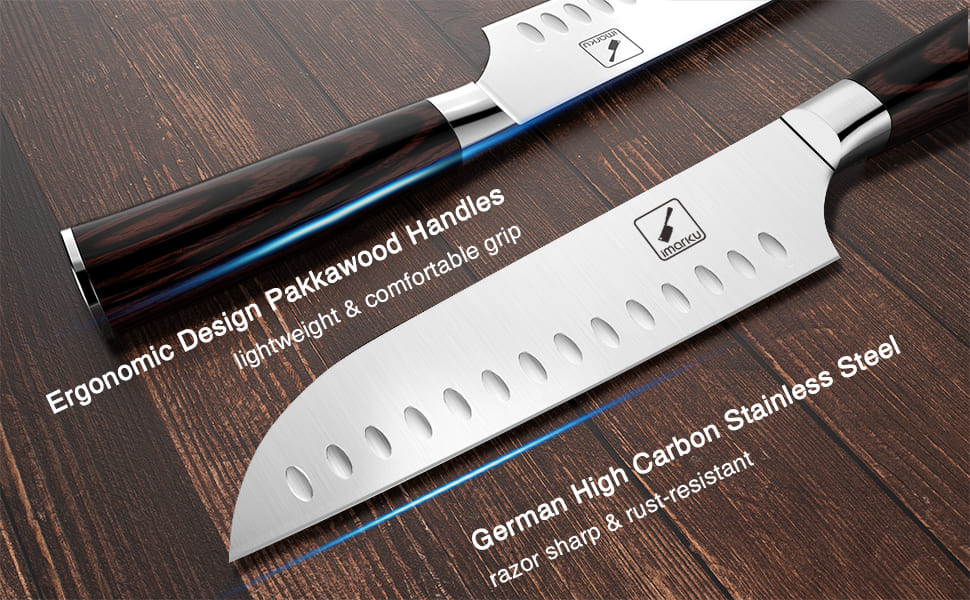
Best Chef Knife Under $100 | imarku 5 Knives Reviews
If you're a home chef or kitchen enthusiast searching for a top-rated chef knife without breaking the bank, you're in the right place. In this blog, we explore the best chef knives and kitchen knif...

