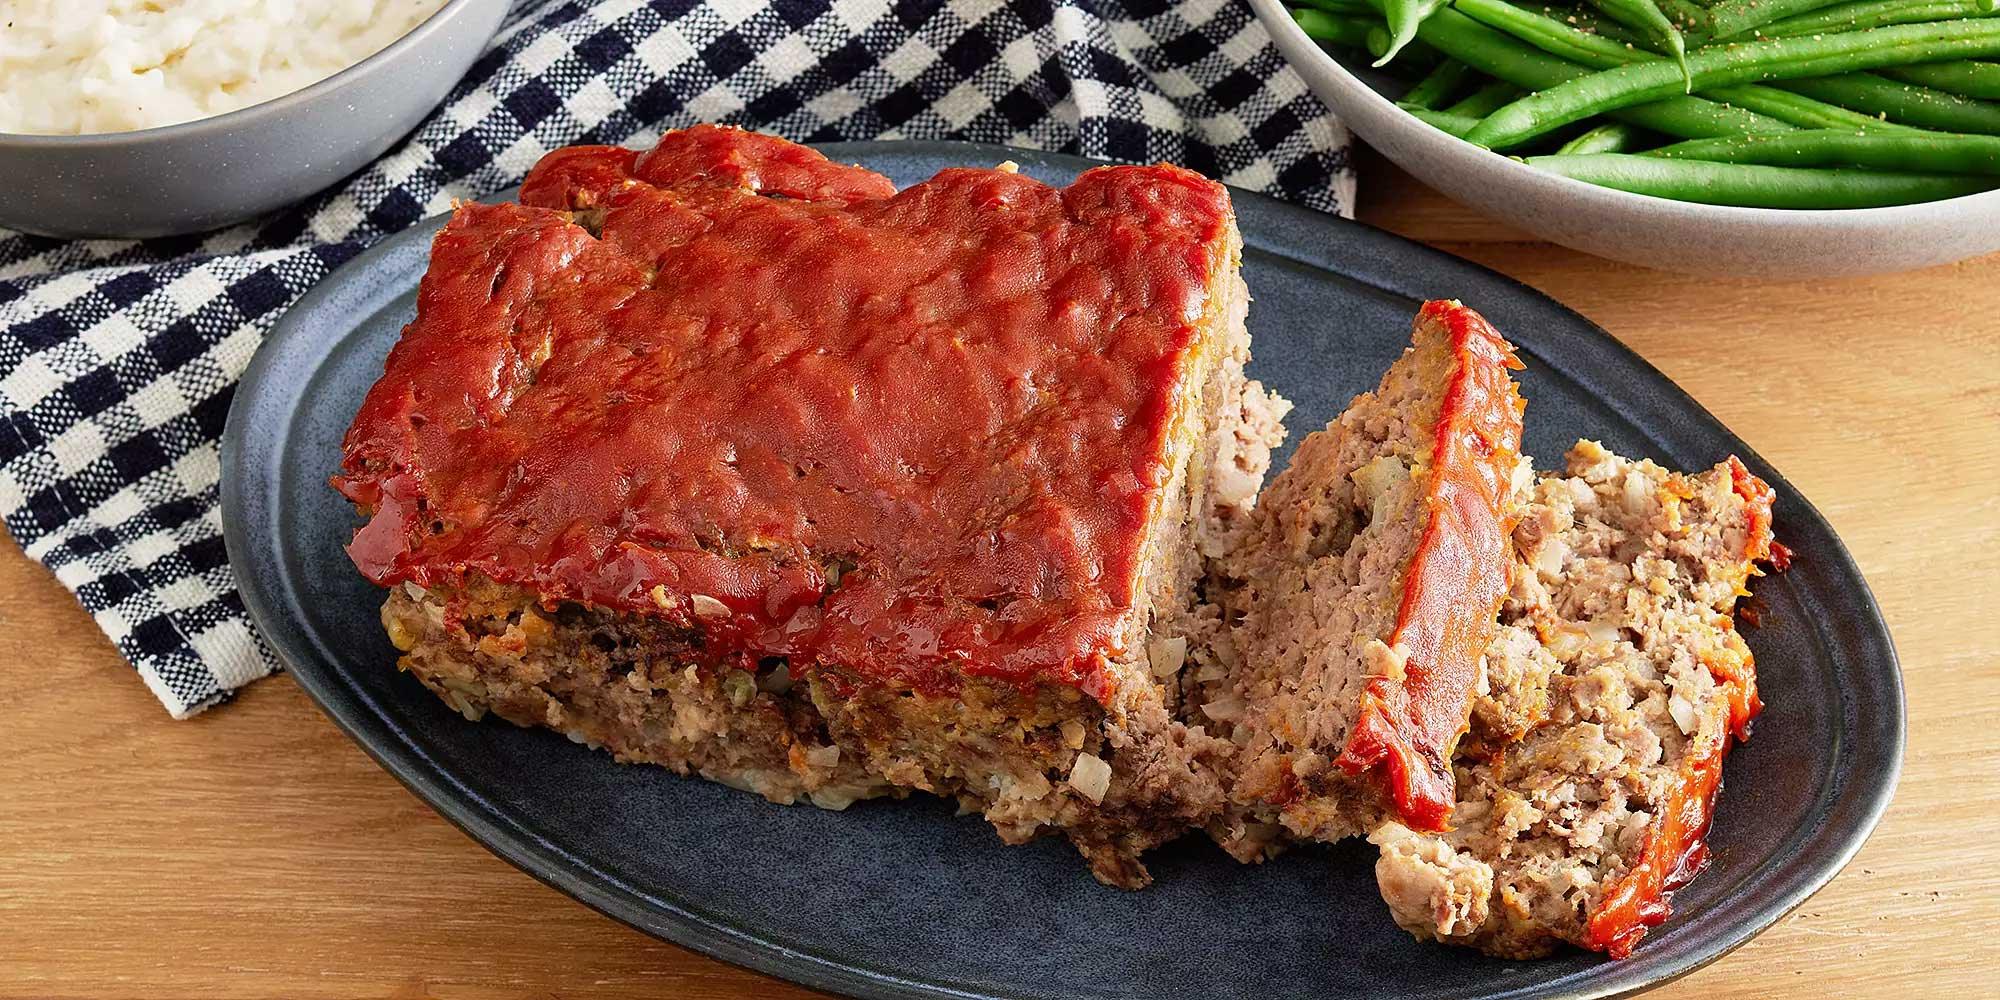
Have you ever wondered how your favorite local diner makes their meatloaf dishes taste extraordinarily heavenly, and so appetizing that you just want to order a second round? Scratch that, we highl...
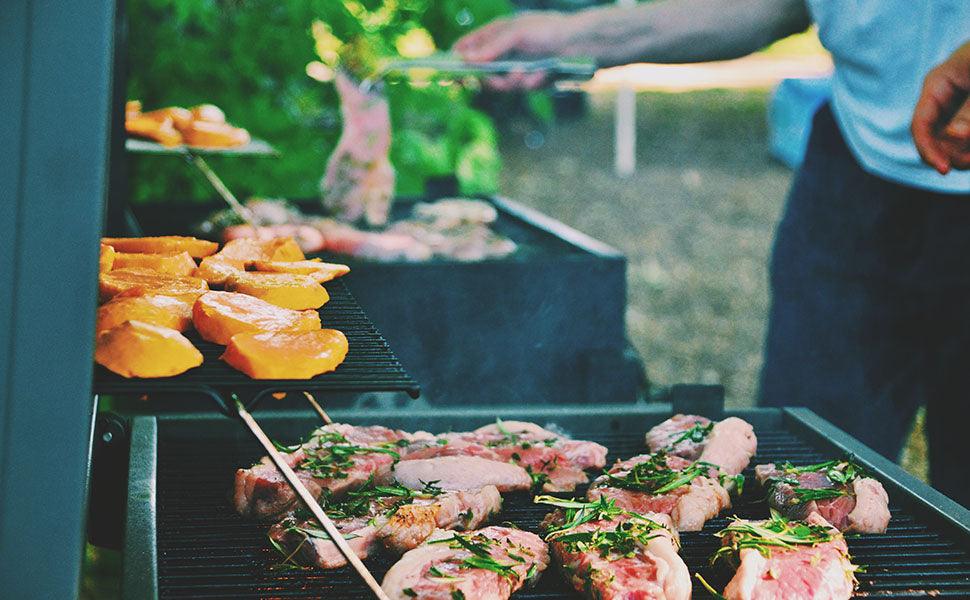
Summer is here, and the weather has started to get better, so spend more time outdoors. How about planning a BBQ party? The summer season is the best time for some BBQ parties with your friends and...
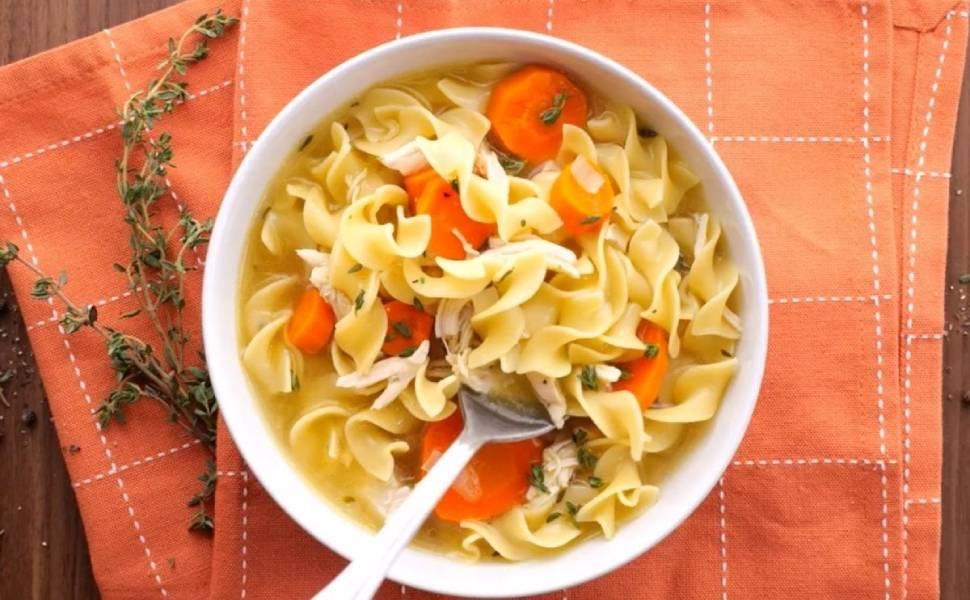
Loaded with soothing flavors and packed with health at the same time, chicken soup in itself is a complete delight. While adding some noodles to that chicken soup makes it much more fulfilling. The...
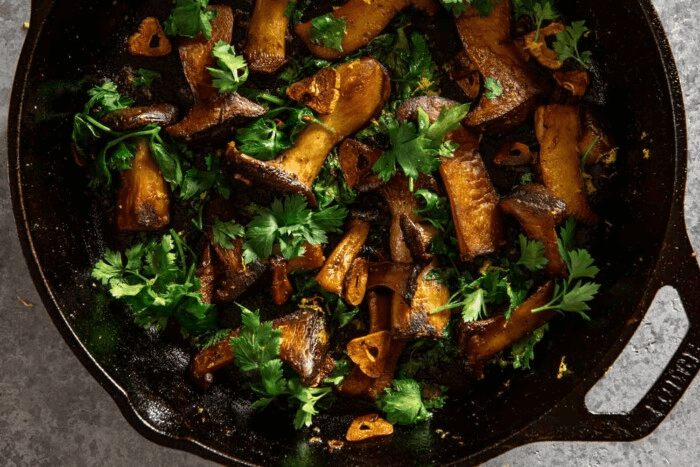
Pan-Fried Oyster Mushroom Recipe
You can prepare delicious and mouthwatering pan-fried oyster mushrooms in minutes with a few ingredients and tools. Here is the guide to making a crispy, garlicky, and incredible side dish. Quick S...
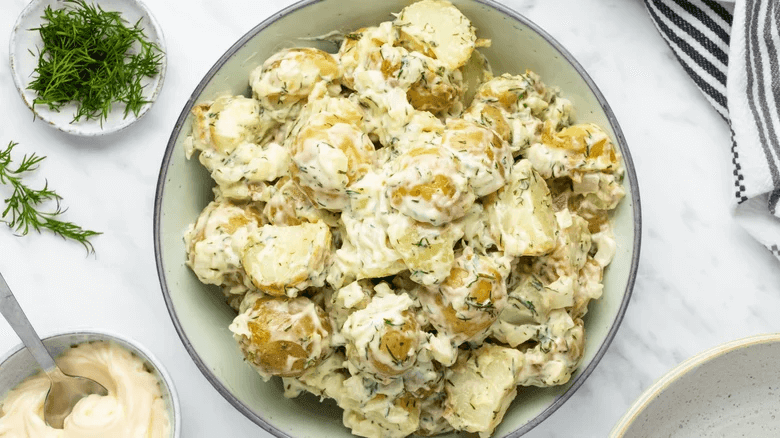
A good potato salad is a perfect side dish for any occasion. It's hearty and delicious, and there are lots of variations for every taste preference. Because of this, you'll find great potato salad ...
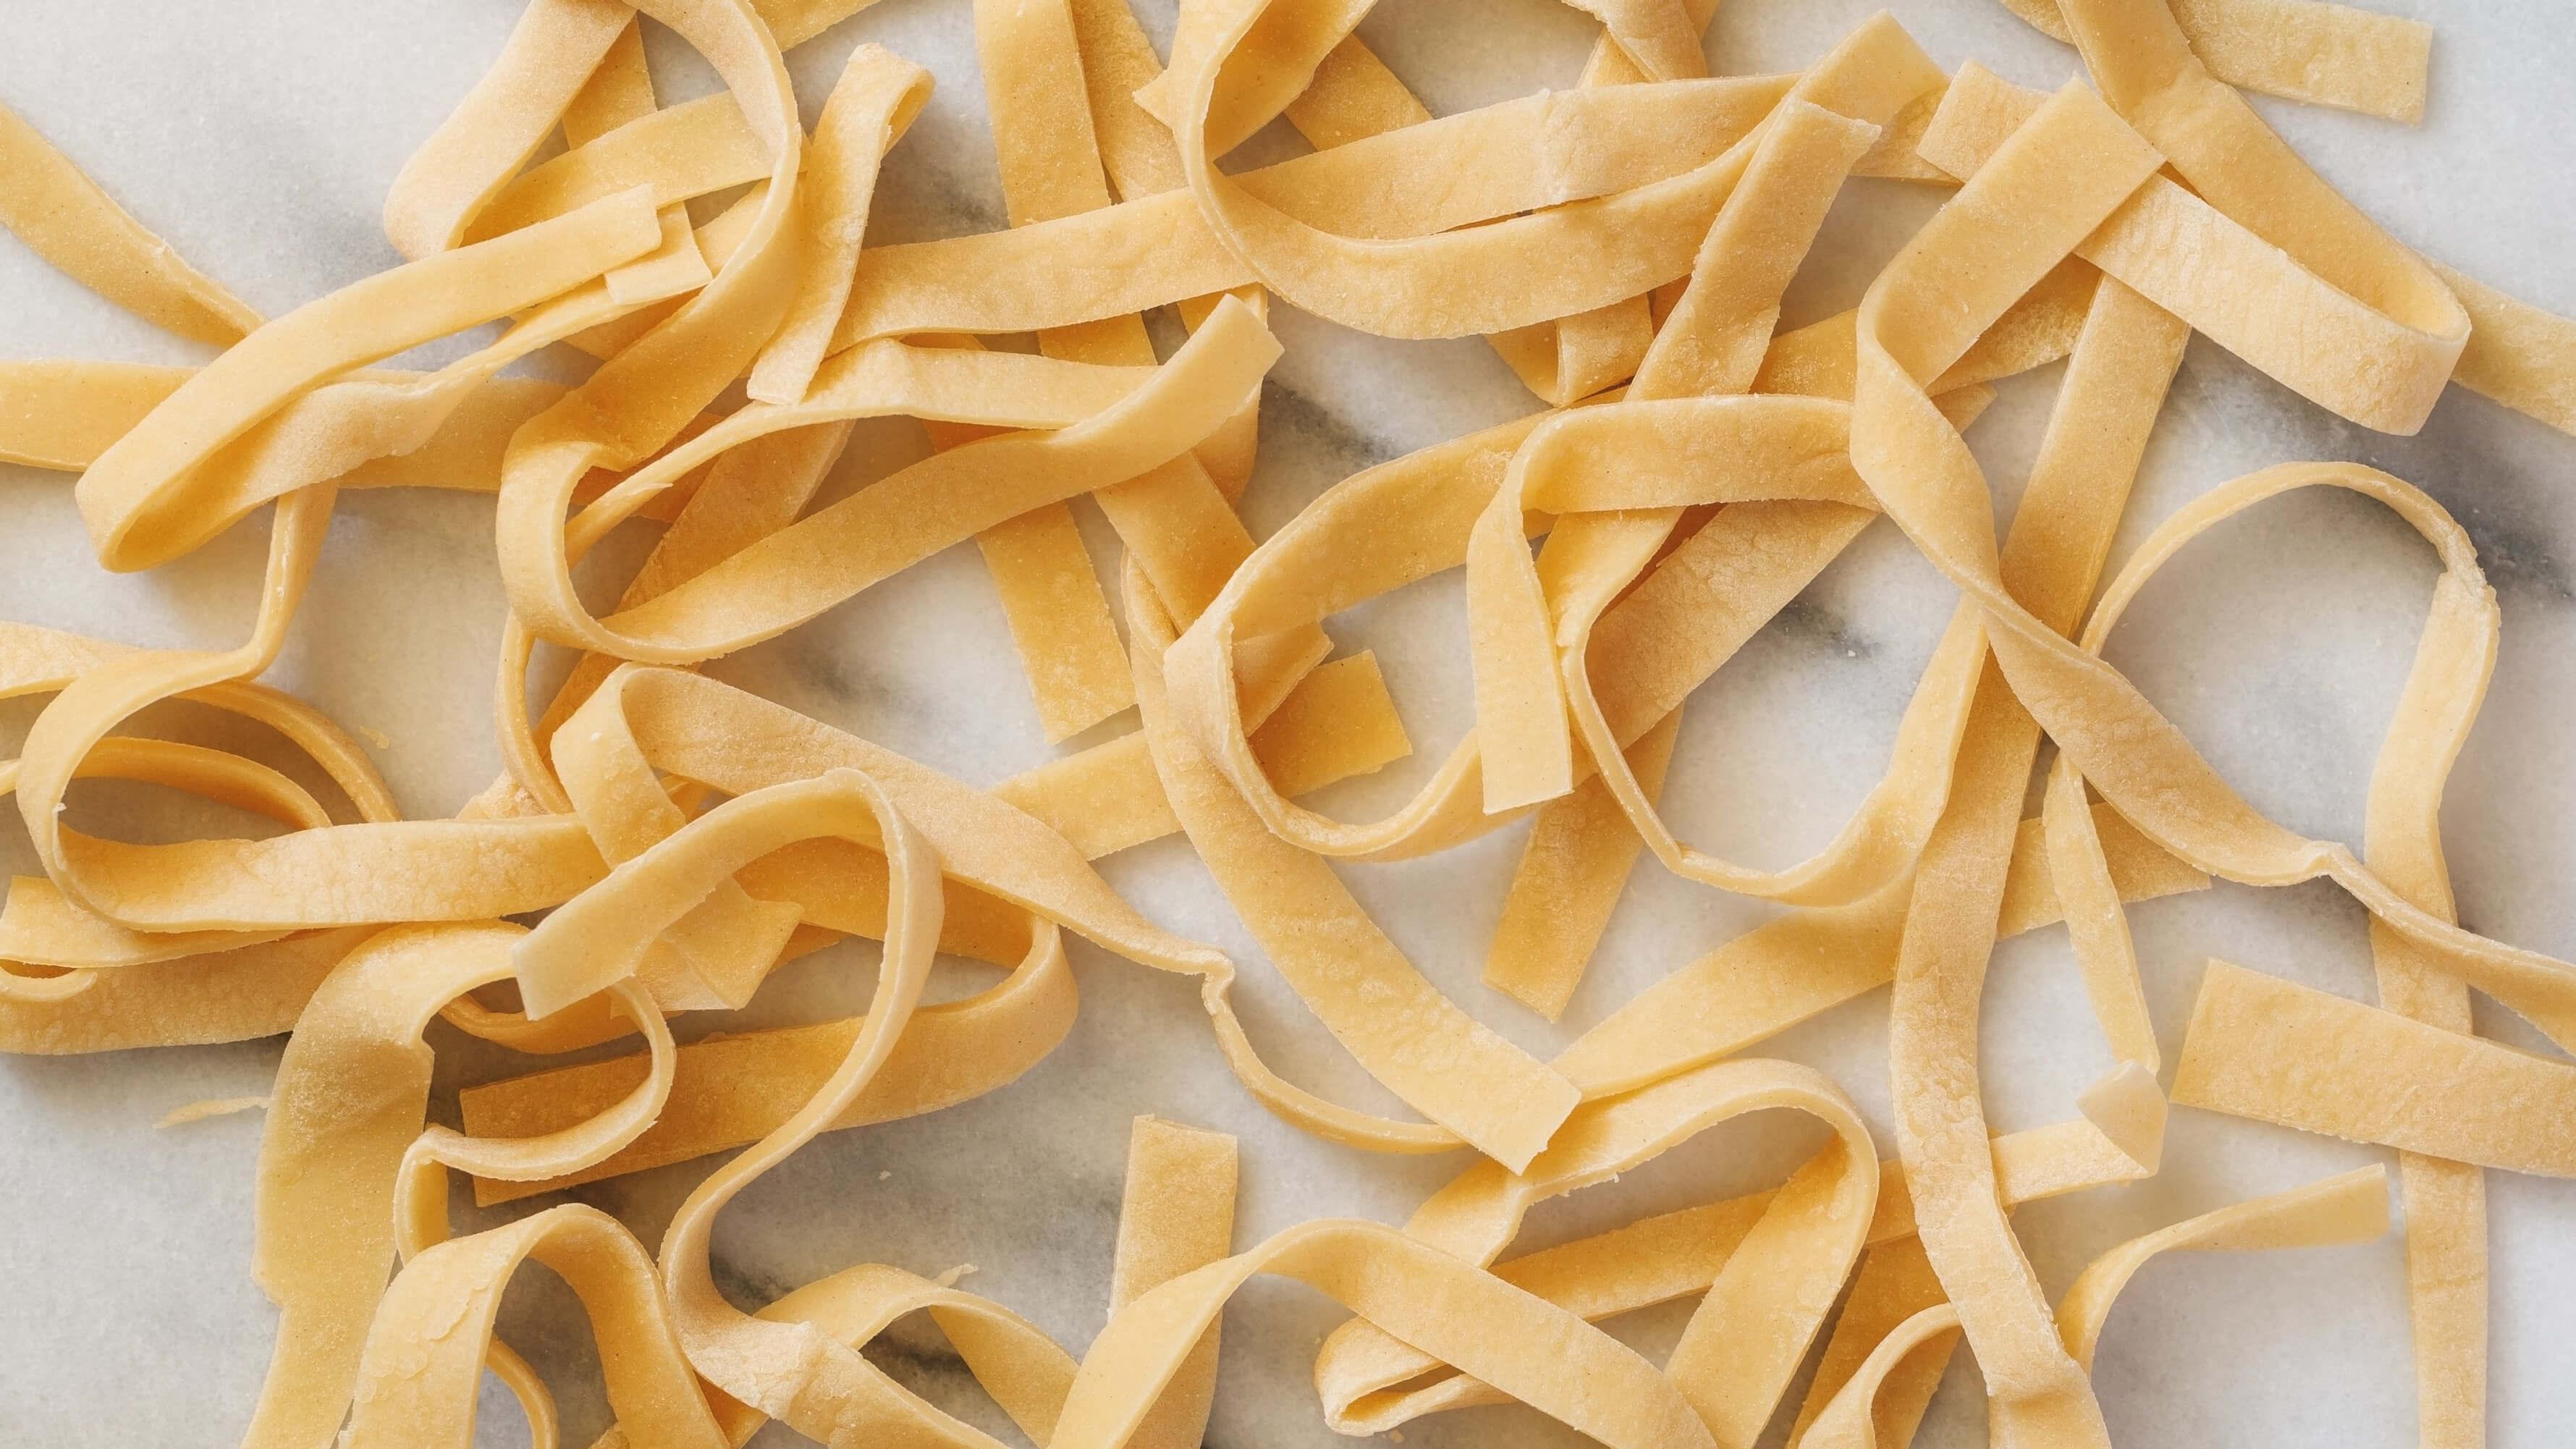
How to Make Egg Noodles At Home
If you have tried making homemade pasta, making egg noodles from the comforts of your home is what you need to try. Apart from being delicious, they are easy to prepare than you have imagined. Foll...
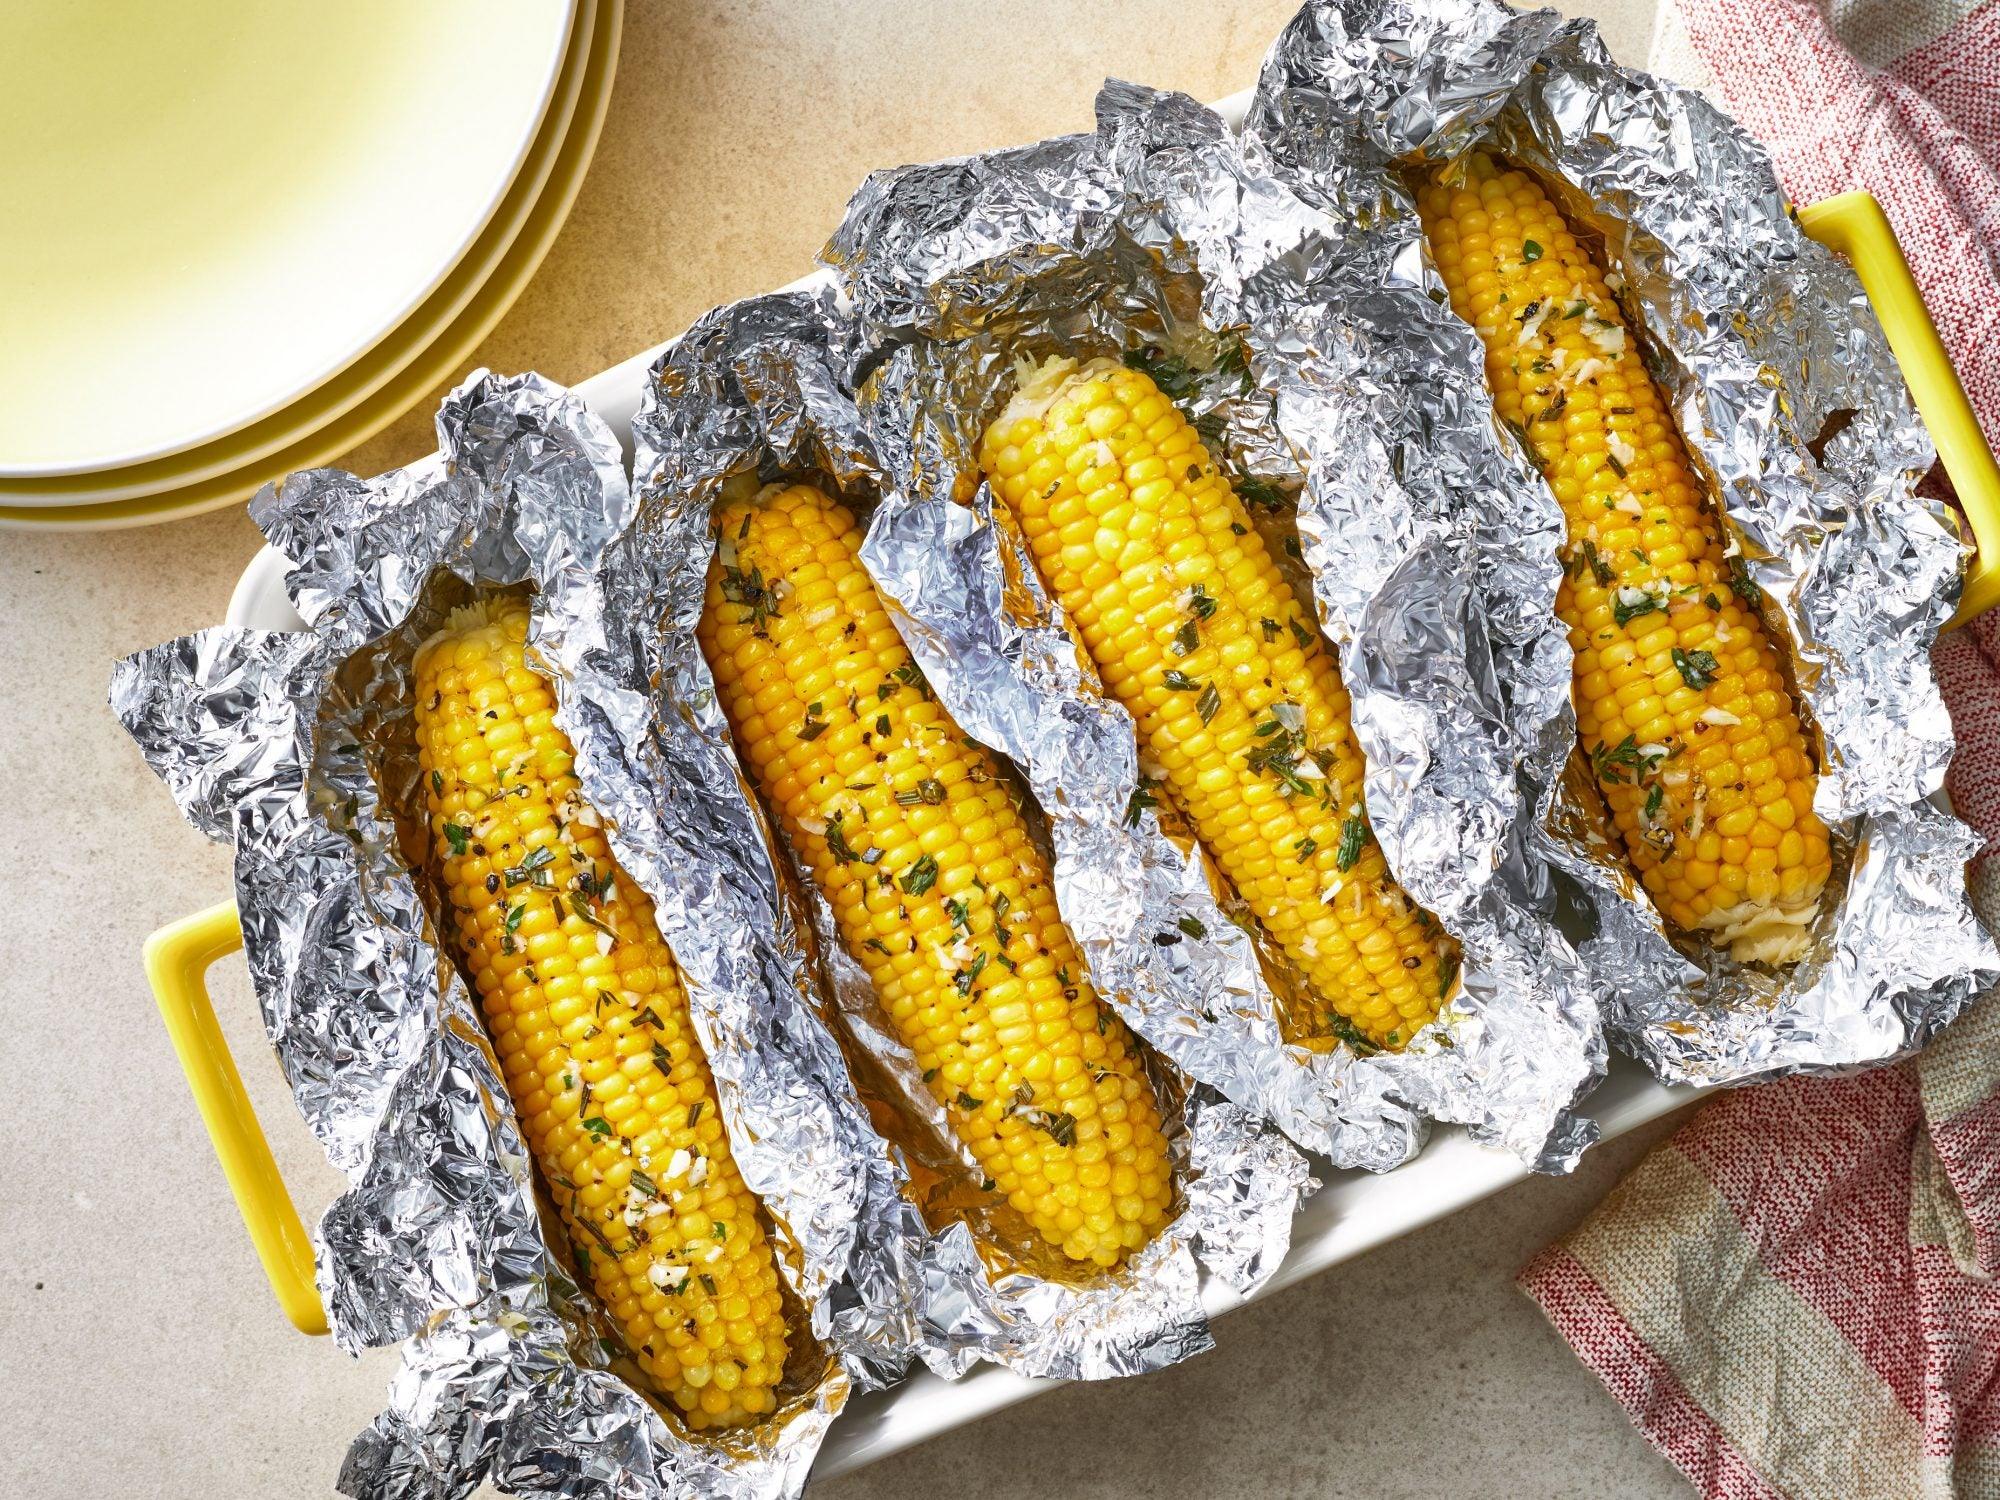
How to Cook Corn On The Cob in The Oven
With summers just around the corner, it is time to start searching for easy recipes that don't confine you to the kitchen for three hours. And what better place to start from than the much-loved co...

