When it comes to pumpkin carving, the magic starts before the first cut. Proper preparation for carving ensures your jack-o’-lantern is easier to make and lasts longer. From choosing the right pumpkin to setting up tools and workspace, learning how to prepare a pumpkin for carving is the key to a smooth, safe, and fun Halloween project.
Good preparation for carving starts with the pumpkin itself. Pick one with firm skin, a sturdy green stem, and no soft spots or cracks. A flat-bottom pumpkin will stay steady while you work, and smoother surfaces make stencils easier to apply. Medium to large pumpkins are best for most designs, and choosing one that feels slightly heavy for its size usually means stronger walls that last longer after carving.
Before you carve, wash your pumpkin with cool water to remove dirt and bacteria, then dry it completely. Some carvers also use a light disinfectant spray to slow mold growth. Store your pumpkin in a cool, dry place until carving to keep it fresh and firm.
Pumpkin carving can get messy, so protect your table with newspaper or plastic and keep a trash bag or seed bowl close by. A well-lit, stable surface makes carving safer and more enjoyable.
Before carving, decide where to place the lid or opening, tape your stencil if using one, and make sure all tools are dry and within reach. A few minutes of smart preparation for carving ensures smoother cuts, safer handling, and a pumpkin that lasts longer.
How to Preserve a Pumpkin After Carving

Carving a pumpkin is exciting, but the real challenge comes afterward: keeping your jack-o’-lantern looking fresh and vibrant. Learning how to preserve a pumpkin after carving not only helps your decoration last longer but also keeps your Halloween display safe and mold-free. Here’s a detailed guide from a user’s perspective, broken down into practical steps and tips.
Clean and Sanitize Immediately After Carving
Once your pumpkin is carved, it’s crucial to remove any leftover pulp and seeds thoroughly. Use a sturdy scoop or spoon to scrape the interior walls until they are smooth. Then, wash the entire pumpkin—inside and out—with cool water to remove debris and bacteria. For extra protection, soak the pumpkin for 15–20 minutes in a mild bleach solution (about 1 tablespoon of bleach per quart of water). This step kills bacteria and mold spores that cause premature decay. After soaking, let the pumpkin air dry completely before moving on to sealing.
Seal the Cut Edges to Lock in Moisture
Exposed carved edges are the first areas to dry out and shrivel. To slow this process, apply a thin layer of petroleum jelly, vegetable oil, or even coconut oil to all cut surfaces. This simple step creates a barrier that locks in moisture and keeps the pumpkin looking firm longer. Pay special attention to corners and detailed cuts, which tend to dehydrate faster.
Use Mold-Preventing Sprays
To further protect your pumpkin, consider spraying the interior with a diluted soap solution, such as peppermint or mild dish soap mixed with water. This helps deter mold growth and keeps the carved pumpkin fresher for several days. Some carvers also lightly mist the exterior, but avoid soaking it too heavily, as excess water can accelerate decay.
Control the Environment
Where you place your carved pumpkin matters. A cool, dry environment slows down softening and mold. Avoid direct sunlight, hot indoor spaces, or areas with high humidity. If possible, move your pumpkin indoors at night or store it in a refrigerator if it’s small enough. For outdoor displays, consider placing it on a shaded porch or using an insulated container underneath to protect the bottom from moisture.
Daily Maintenance Tips

Even with proper preparation, carved pumpkins need attention. Remove any water that accumulates inside, wipe off condensation, and reapply petroleum jelly or oil to drying edges as needed. If a pumpkin begins to soften in one area, a gentle press with your fingers can sometimes restore shape temporarily. Keeping a small brush or cloth handy helps maintain detailed carvings.
Optional Tricks for Longer Preservation
Freezing uncarved pumpkins: If you have multiple pumpkins, consider freezing the unused ones. Carve only when ready to display.
Using LED lights instead of candles: Traditional candles produce heat that speeds up decay. Battery-operated LED lights keep the pumpkin illuminated without affecting freshness.
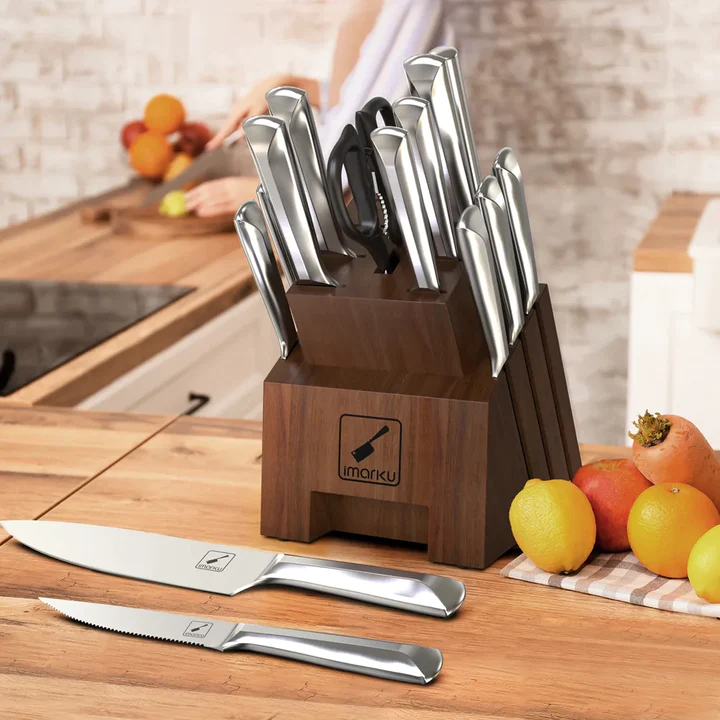
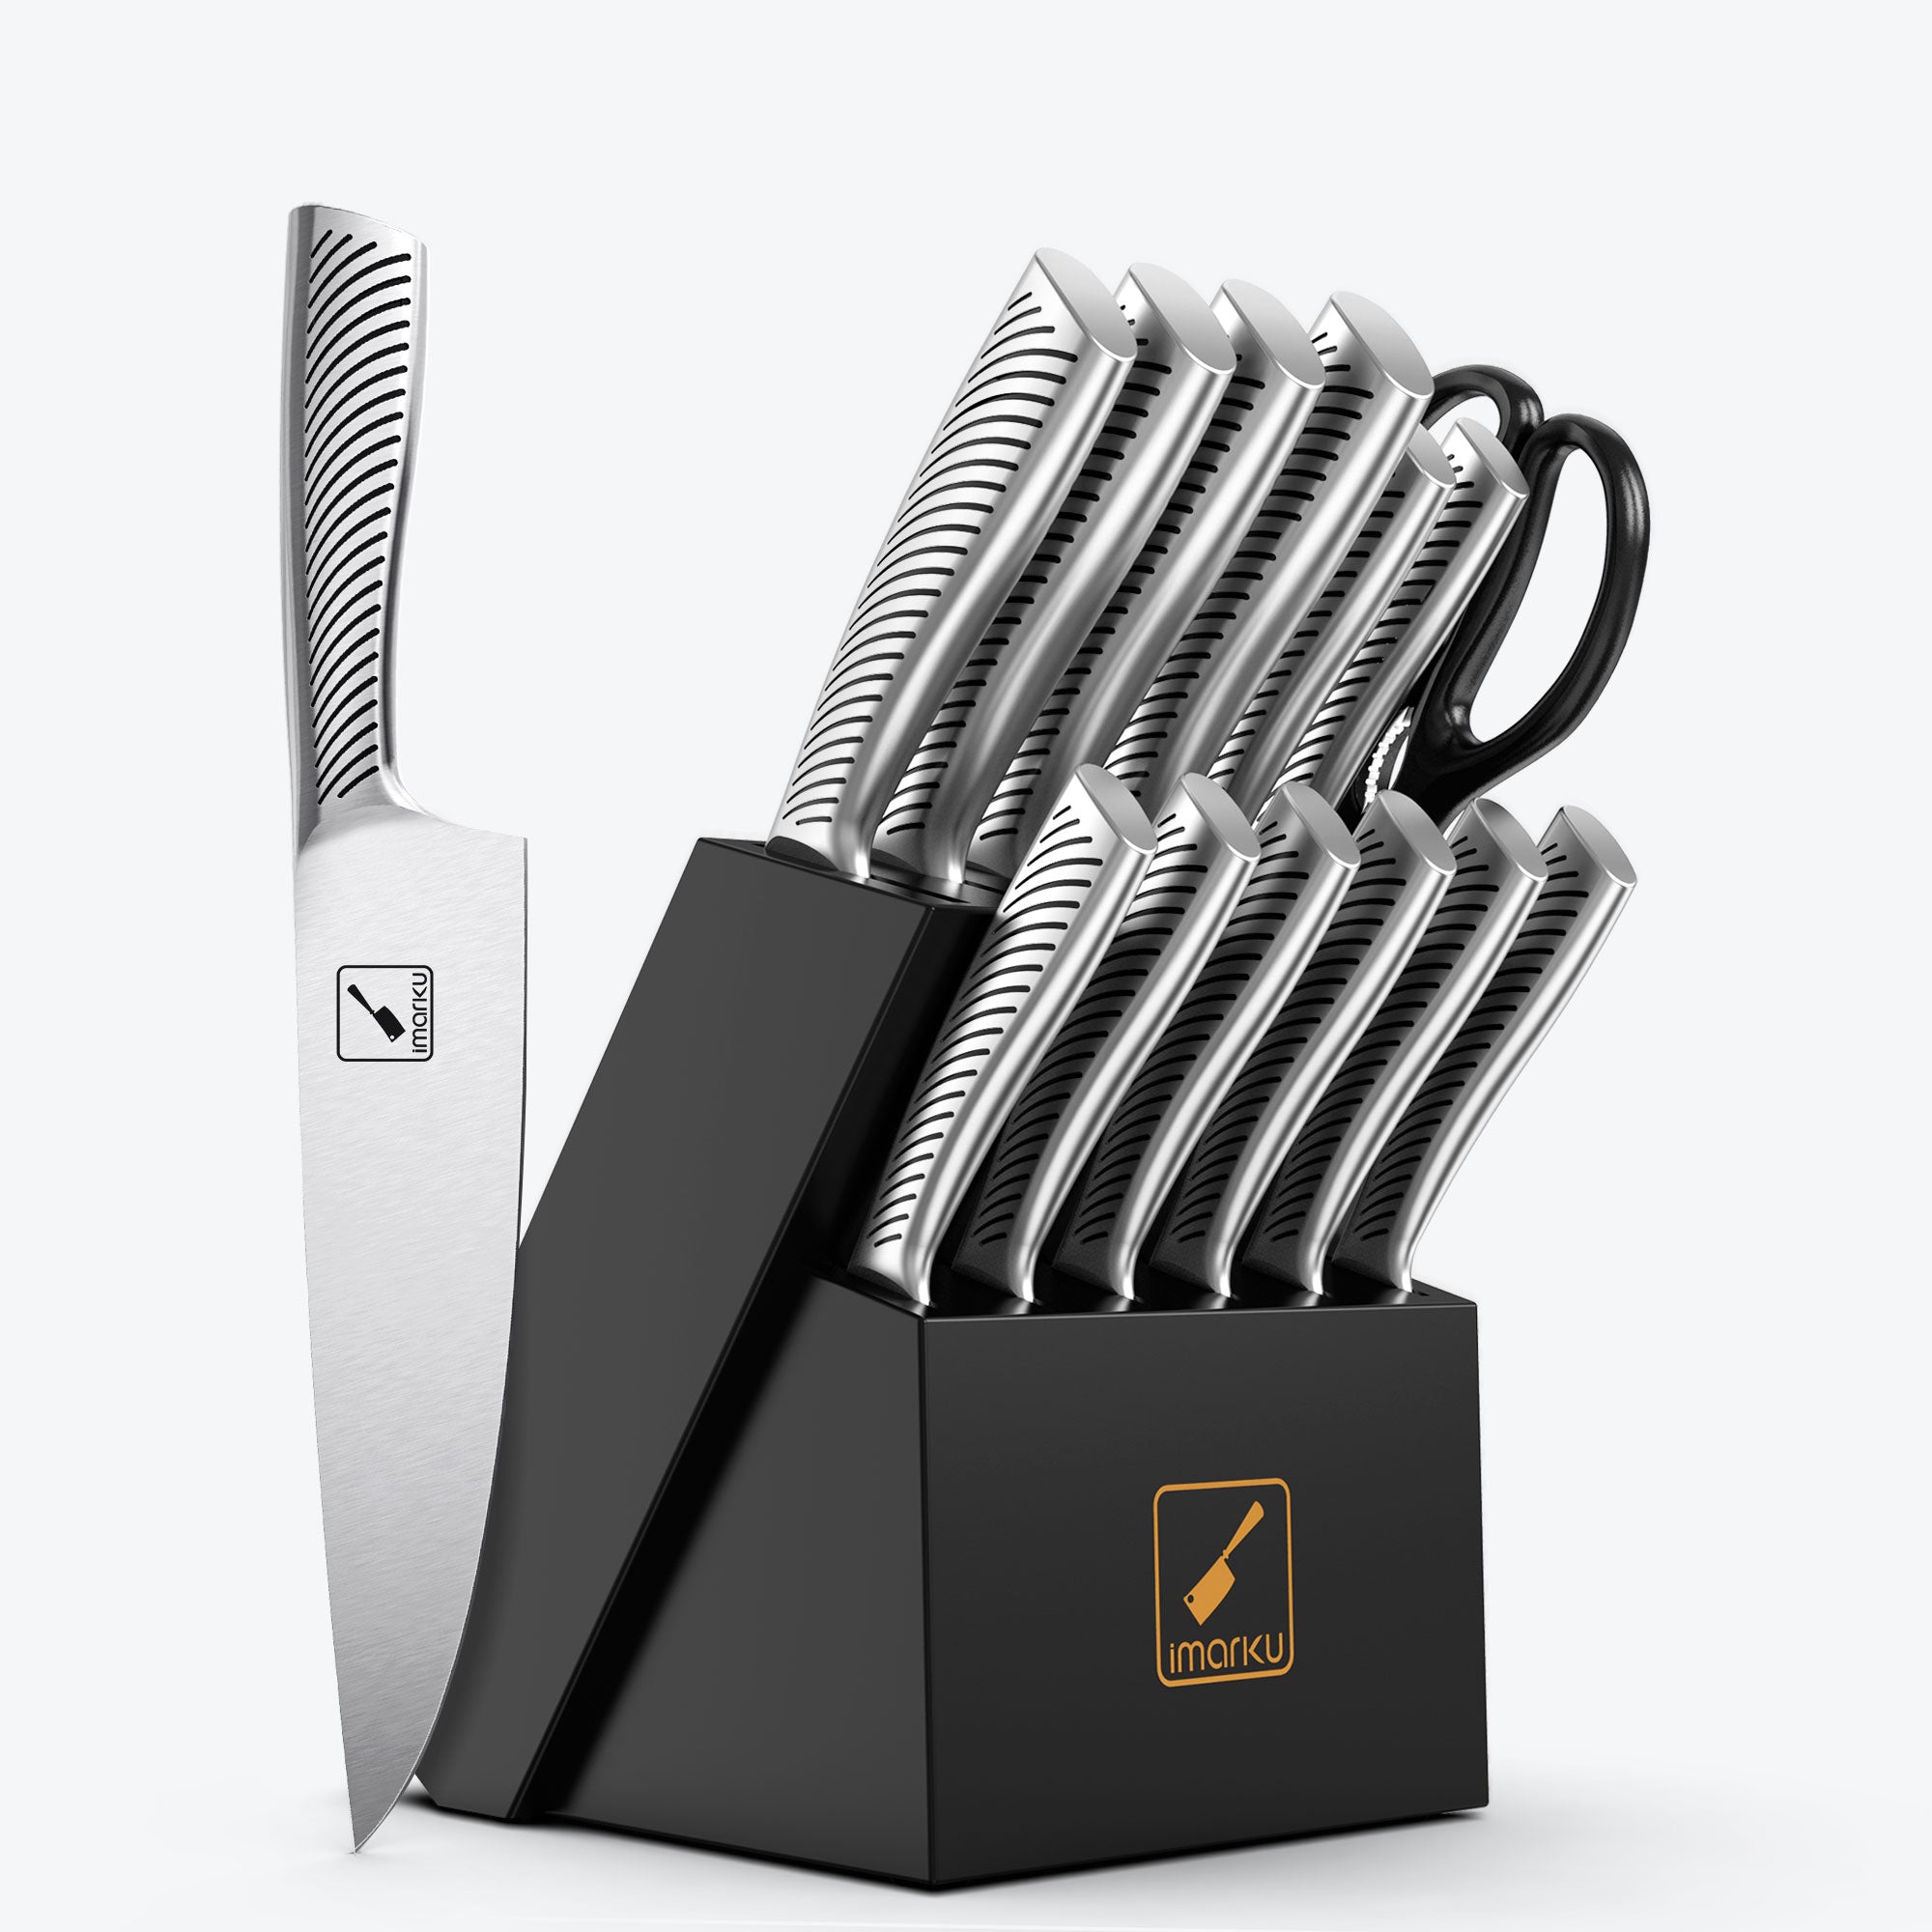
Pumpkin carving kits: Using sharp, ergonomic tools reduces accidental crushing or tearing, which can shorten the pumpkin’s lifespan. A high-quality carving knife with serrated edges and a comfortable grip makes a difference in both safety and preservation.
By following these pumpkin preservation tips, your jack-o’-lantern can stay fresh, vibrant, and mold-free for several days—or even a week—after carving. Combining proper cleaning, sealing, environmental control, and daily maintenance ensures that all your hard work in pumpkin carving pays off with a long-lasting festive display.






Leave a comment
All comments are moderated before being published.
This site is protected by hCaptcha and the hCaptcha Privacy Policy and Terms of Service apply.