The Ultimate Guide to Sharpening Knives with a Stone
In the cooking world, a sharp knife is a chef's best buddy. It's not just about convenience; it amps up your efficiency, precision, and safety game.
But hey, watch out for those dull knives! They mess with your culinary skills and put you at risk. That's why mastering knife sharpening is a must for unleashing your artistic flair and keeping things safe in the kitchen.
Overview of Using a Sharpening Stone for Knife Sharpening
Among the various methods available for knife sharpening, the use of a sharpening stone stands out as a time-honored technique that yields exceptional results. A sharpening stone, often referred to as a whetstone, is a rectangular block that resembles sandpaper.
By skillfully sliding the knife across the stone's surface, one can restore and refine the cutting edge, granting it the sharpness it deserves. This article will guide you through the intricate process of sharpening your knives to perfection, ensuring optimal performance and longevity.
Three Methods to Assess Knife Dullness
Method 1: Visual Inspection
Before sharpening, examine your knives closely. Signs of dullness include difficulty in achieving precise cuts, reduced slicing ability, and overall inefficiency. Identifying these indicators helps pinpoint knives that need immediate attention.
Method 2: Tomato/Fruit Test
Evaluate sharpness by slicing through a tomato or fruit. A sharp knife effortlessly glides through, yielding clean, uniform slices. If the blade struggles or tears, it's a sign of dullness requiring sharpening.

Method 3: Frequency of Usage
Consider how often you use your knives. Professional kitchen knives may need sharpening every few months, while home kitchen knives may require it once or twice a year. Understanding usage frequency helps establish a suitable maintenance schedule.
Four Things Need to Consider Before choosing A Right Sharpening Stone
Exploring Natural and Synthetic Stone Options
When selecting a sharpening stone, you will encounter a choice between natural and synthetic options. Natural stones, such as Arkansas stones, possess unique characteristics that contribute to their sharpening efficacy.
Alternatively, synthetic stones, including aluminum oxide or silicon carbide stones, offer consistency and durability. Each type has its merits, and personal preference plays a significant role in choosing the stone that aligns with your needs.
Understanding Wet, Oil, and Dry Stone Usage
Sharpening stones can be categorized based on the lubrication medium used during the sharpening process. Wet stones require water for lubrication, oil stones necessitate honing oil, while dry stones operate without any additional lubricant.
The choice between wet, oil, or dry stones is subjective, as each method has its advantages. Experimentation will help you discover the technique that produces the desired results for your knives.

Source: Flickr
Highlighting Diamond Stones and Their Advantages
Diamond stones, a popular choice among avid knife enthusiasts, offer distinct advantages in the sharpening realm. Constructed with a diamond-coated surface, these stones provide exceptional durability and cutting speed.
The coarse grit of diamond stones efficiently reshapes the blade, making them ideal for initial sharpening or repairing significantly dull knives. Consider incorporating diamond stones into your sharpening arsenal to expedite the restoration process.
Step-by-Step Guide for Sharpening a Knife with a Stone
Simple Diagram

Source: Thespruceeats
Step 1: Placing the Sharpening Stone on a Stable Surface
Before commencing the sharpening process, find a stable surface to place your sharpening stone. This ensures stability and minimizes the risk of accidents. Consider using a non-slip mat or damp cloth to secure the stone in place, providing a solid foundation for the subsequent steps.
Step 2: Starting with the Coarse Grit Side of the Stone
When using a sharpening stone with multiple grit options, begin the process by utilizing the coarse grit side. This grit level is suitable for initial sharpening or addressing significant dullness. By sliding the blade across the stone's surface in a controlled manner, you initiate the restoration process, gradually transforming a dull blade into a keen instrument of precision.
Step 3: Holding the Knife Blade Against the Stone at the Correct Angle
Ensure a secure grip on the knife handle and position the blade against the sharpening stone at the recommended angle. Maintain a firm yet controlled hold to prevent slippage during the sharpening process.
Consistency in angle and stability in hand positioning guarantee a uniform bevel and an impeccably sharp edge.
Step 4: Performing Alternating Strokes on Each Side of the Blade
To attain a symmetrical cutting edge, it is essential to perform alternating strokes on each side of the blade. With smooth and fluid movements, slide the knife across the sharpening stone, maintaining the desired angle.
This rhythmic back-and-forth motion distributes the sharpening action evenly, preventing the creation of an uneven edge.
Step 5: Progressing to Finer Grits for a Polished Edge
After establishing the initial sharpness using the coarse grit side of the stone, progression to finer grits is necessary for achieving a polished and refined cutting edge.
Repeat the sharpening process with progressively finer grits, working towards a smoother and more pristine blade. The gradual refinement enhances the knife's cutting performance, resulting in precision and effortless slicing.
Video tutorial on YouTube at https://www.youtube.com/watch?v=TkzG4giI8To
Maintaining and Caring for Sharpened Knives
After sharpening, clean the knife thoroughly. Rinse under warm water to remove debris. Dry gently, ensuring all nooks are dry. Proper cleaning prevents corrosion, maintains hygiene, and preserves sharpness.
Proper Knife Storage: Protect Sharpness
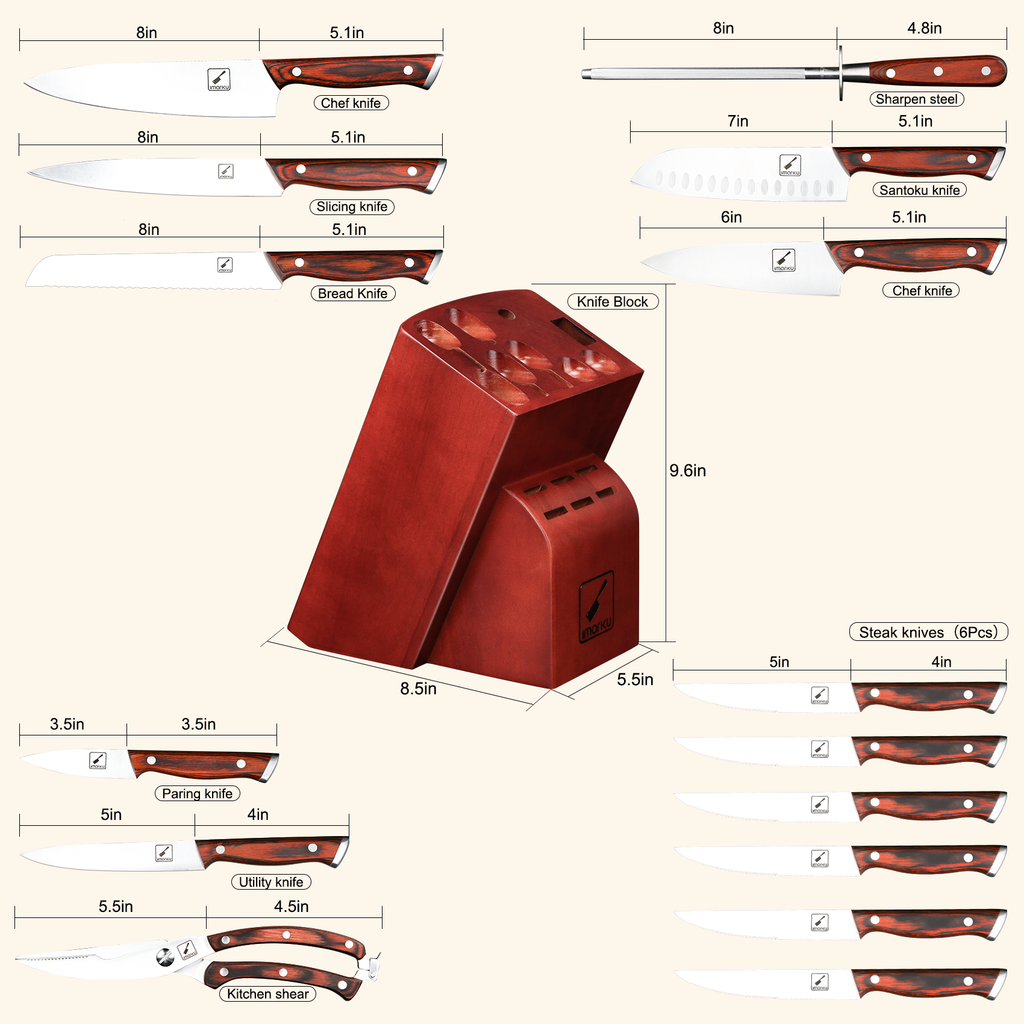
Store knives carefully to maintain sharpness. Avoid loose storage that can dull blades. Consider knife blocks, magnetic strips, or blade guards. Proper storage safeguards sharpness and longevity.

Regular Honing for Maintenance
Between sharpening sessions, regular honing is key. Use a honing rod to realign the edge, improving cutting performance. Honing reduces the need for full sharpening.
Conclusion
Mastering knife sharpening elevates culinary skills. Sharp knives enhance cutting, efficiency, and safety. Regular maintenance extends knife lifespan. Unleash your culinary creativity with precision and confidence!